Continuing our ECMO Education Series, below is a video from one of our recent ECMO cannulations along with an outline of the steps, pearls, and pitfalls when initiating ECMO. This instructional video will focus primarily on VV-ECMO, stay tuned for a VA-ECMO cannulation soon!
Step 1: Get your gear – Initial Set-Up & Preperation
- Quiet down the room.
- Prep the patient with full-barrier, sterile scrub & drapes.
- Heparinize the patient: 3,000 – 5,000 units (100 units/kg).
- Fill a large, sterile bowl with NS & have a 60 cc bulb syringe ready for cannula irrigation and flushing.
- Initial Vascular Access
- Be efficient: While setting up the circuit and the team is gathering supplies, start by obtaining vascular access
- Initial access: Place a right femoral CVC, left femoral a-line, and a right IJ CVC under ultrasound guidance. If you already have an a-line, you can suture a femoral arterial wire in place for future use.
- Pitfall: Not placing these lines under ultrasound guidance: As we all know, in the critically ill or critically hypoxic patient, arterial blood can look the same color as venous blood. Don’t count on appearance alone. Even using a pressure column can be misleading.
- Double-check: Confirm wire placement in the lumen of the vessel
- Cannulation Equipment
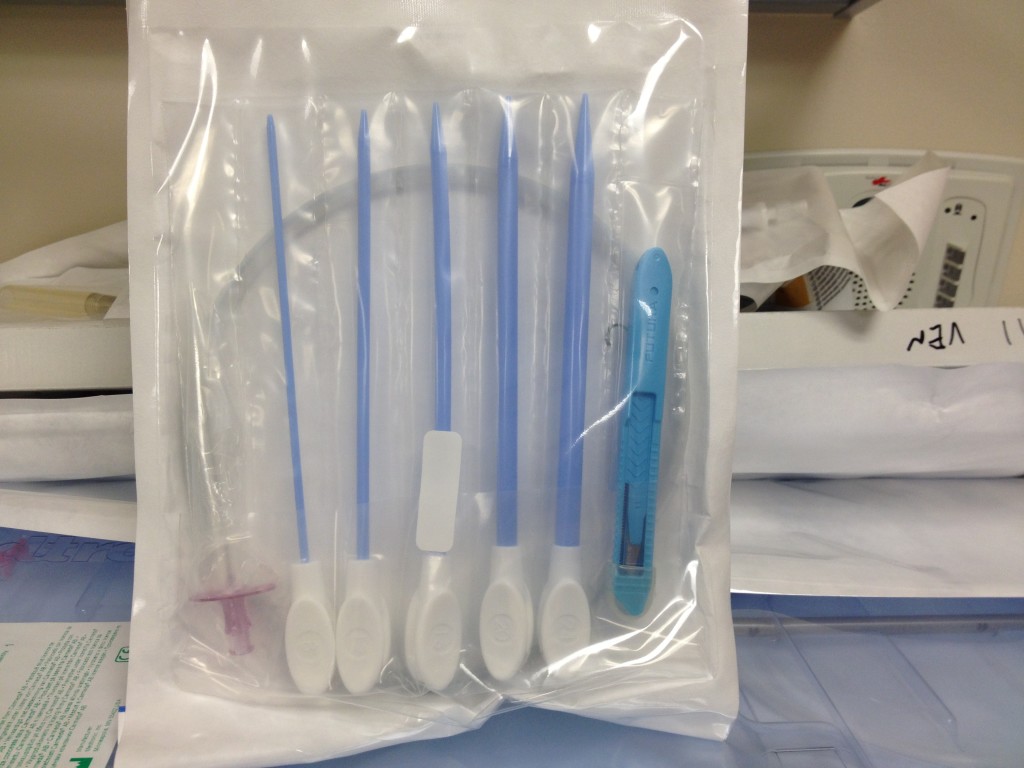
- Cannulas
- Venous Cannulas:Sizes range from 23 – 29 French steel wire reinforced
- Arterial Cannulas: Sizes range from 19 – 21 French steel wire reinforced
- Different insertion lengths: Range from 15 – 55 cm (depending on manufacturer)
- Lock introducer
- The size of the venous cannula directly determines blood flow. The largest possible venous cannula should be used to maximize flow and easily achieve target output.
- Some will choose cannula size on flow goals alone (See Cannula info)
- Some data to suggest the use of US may be helpful to determine vessel lumen size and appropriate cannula size (Grasselli, 2010 PMID: 20872350)
- Venous cannula length targets:
- Femoral: Distal tip rests in the IVC, generally at the level of T10 – T11. You do not want to advance the cannula past the hepatic vein, as this can cause an obstruction and hepatic congestion.
- Internal Jugular: Distal tip to rest in the SVC
- Try to measure the lengths with the cannulas beforehand so when advancing you know when to stop!
- Note: For venovenous ECMO, circuit of a femoral drainage (deoxygenated blood) and internal jugular return cannulas (oxygenated blood) believed to provide less recirculation than the reverse.
- Dilators: Series of 8, 12, 16, 20, & 24 French dilators

- Cannulas
Step 2: Dilate up the initial insertion sites
- Insert the 150 cm guide wire through the distal port of the femoral CVC.
- Remove the CVC and hold pressure over the insertion site to prevent excessive bleeding.
- Load the 8 Fr dilator onto the introducer wire, & advance it just to the skin.
- Prior to advancing the dilator you will have to extend your initial incision.
- Extend the incision by about 1cm just smaller than the size of your dilator.
- This will provide adequate hemostasis each time you dilate the soft tissue.
- Introduce the dilator in a corkscrew-wise fashion, advancing the dilator at the level closest to the skin
- As you advance the dilator, periodically check to make sure your guide wire freely moves within the dilator itself. If you develop a kink or difficulty passing the dilator, you run the risk of lacerating the vessel. (GAME OVER)
- Repeat this step for each dilator up until you reach the appropriate size for your chosen cannula.
Step 3: Inserting the ECMO Cannula
- After your final dilation, load your introducer onto the 150 cm wire.
- Advance the introducer through the soft tissue, far enough that you actually dilate the wall of the femoral vein.
- Remove the introducer and hold lots of pressure.
- Load your venous cannula on to the introducer, then on to the 150 cm guide wire.
- Finally, advance your cannula to the pre-decided distance.
- Remove the dilator, wire, & double clamp the open end of the cannula.
- Flush your cannula with a copious amount of sterile saline.
- Pearl: There is a slight step-off between the cannula and the introducer due to the actual thickness of the wire-inforced cannula itself. If your dilation is inadequate, this step off can get hung up on the soft tissue while attempting to insert it into the vessel.
- Pearl: You can use your ultrasound to visualize cannula placement in the IVC! Use it.
Step 4: Connect to the cannula to the circuit
- Check the circuit tubing: Remove all twists & coils. Make sure that there is plenty of length between the circuit and the cannulas themselves.
- Irrigate the ends of the tubes: As you attach the cannulas to the circuit tubing, use the bulb syringe to irrigate the ends to prevent air from getting trapped in the tubing
Step 5: The same steps above for the return cannula
Step 6: Turn on the circuit (we’ll add more about this in a separate post)
- Goal flow for VV ECMO (in adults) about 50-60 cc/kg/min. You can start at round 2 liters and titrate up, usually to a goal of 4-5 liters per minute.
- Start the sweep at about 2 lpm (for CO2 clearance) and titrate.
Step 7: Clean up & confirmation
- Order a chest & abdominal XR to confirm cannula location
- While you are waiting, you can also perform a bedside ultrasound to visualize the cannula tip in the IVC.
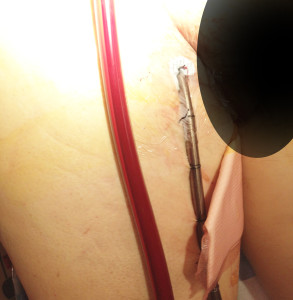
- Make sure your cannulas are secure. Usually, place at least 2 stabilizing sutures (for IJ’s) and 3-4 for the femoral cannulas with an 0 silk suture. Cover the sites with a sterile dressing.

Stay tuned as we continue to work our way through initiating ECMO and review the pearls & pitfalls of mechanical circulatory support!
[author title=”About the Author”]


